2nd graders are making 3-D chameleons! I read the book "A Color Of His Own" using YouTube projected on my white board. It's life changing to have the projector in your room, ask anyone. All of sudden, everyone can see exactly what you see and you don't have students struggling to see the pages when you read a smaller book! Here is a link to the story (I just muted it and read it aloud)
http://www.youtube.com/watch?v=vrE1LJjM8gI . We discussed the story and talked about how it was a story of find what colors really express how you feel and who you are.

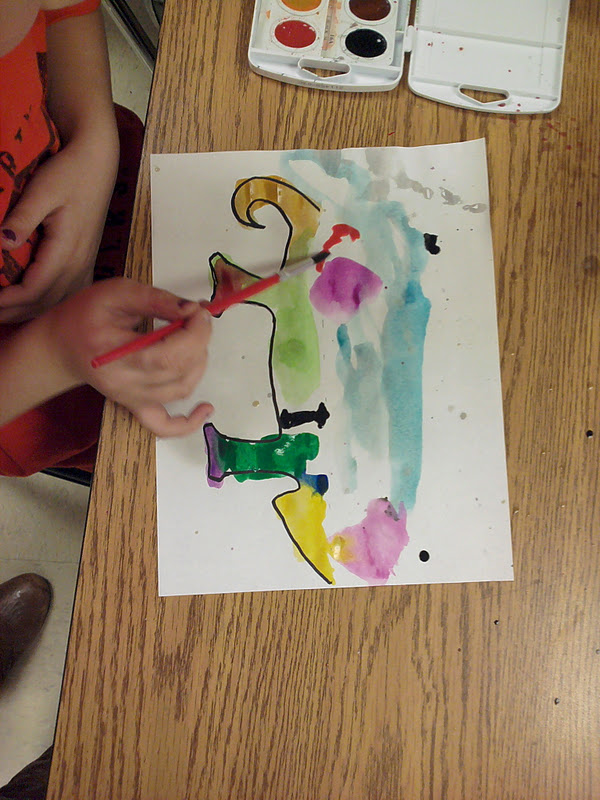
First things first, we talk about where to put your name and discussed why. We decided on the MIDDLE of the paper on the back. That way, when we cut it out or it falls on the floor, the name will still be on the chameleon. We reviewed on how to use watercolor properly, but most students are almost experts now. We talked about symmetry and what it is. I explained how it's a mirror image and how how when you fold a piece of paper, what you cut on one side, will appear the exact mirror image on the other side when you open it it up. Think of a butterfly or of how you cut a snowflake and then unfold! That is how this project works for the Chameleon. We'll paint today, let it dry, then fold on the dotted line, then cut on the bold one, unfold and glue down the legs. (I'm going to tell them to pick their favorite tail and then cut off the other one, but that's for next time!:) )


Now keep in mind we are using copy paper for this-which means it is prone to tearing. While explaining how to paint and blend I said, keep it away from the edge and showed them my example that was dry and how there was a white boarder. I asked "Why do you think it's important to keep a nice white edge and not paint it?" Students guessed right. It's so that you don't end up tearing the paper (since it's so saturated) when lifting it off the table. It seems to work well and a good rule of thumb. I did talk about making sure you have paint on the other side though so you don't end up with a completely white chameleon. Next time when it's dry, they'll cut out, glue on googly eyes, and glue down just the tip of the feet to a piece of paper of their choice.
 |
| chameleon symmetry template |
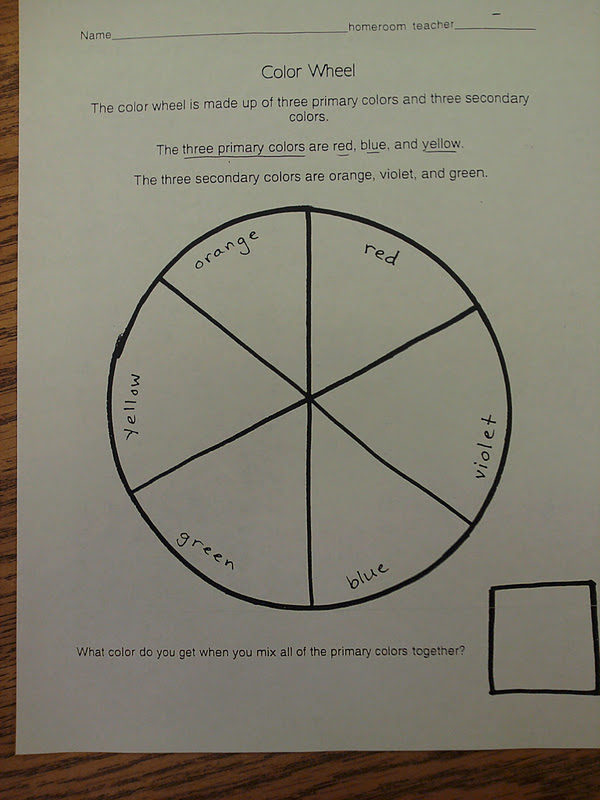
When students were finished I showed them a color wheel study where they needed to color in with crayon or colored pencil, the corresponding colors. We looked at the color wheels in my room for help. On the back was a color wheel with to tertiary colors (blue green, yellow orange..etc.) to color in. This keeps the color wheel fresh in their minds! Then a fun color vocabulary wordsearch if finished early!